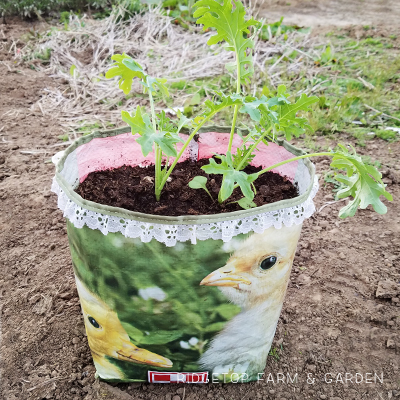
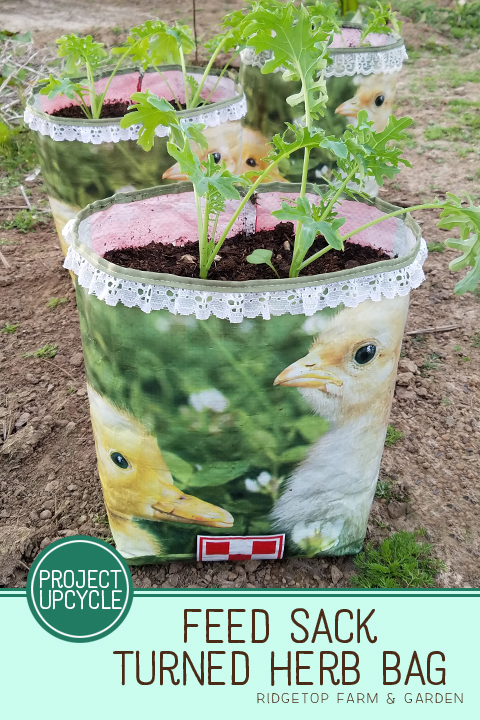
On my quest to find ways to use all the feed sacks, I came up with bags to grow herbs and greens.
Making them is very similar to sewing the tote bag. The differences are size and no handles.
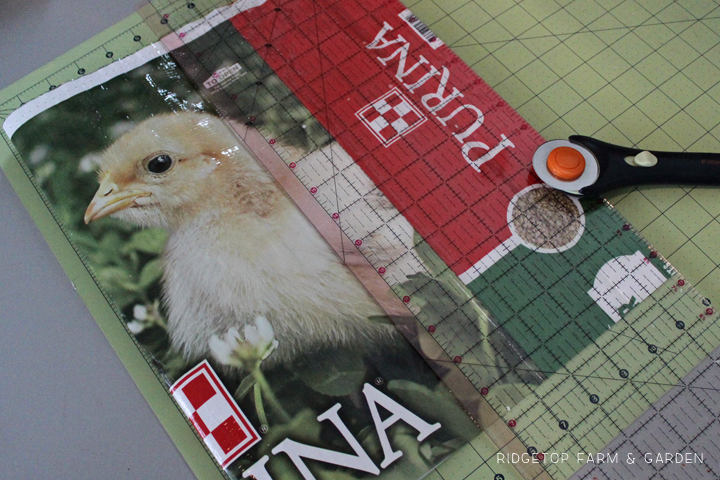
This is a fairly easy sewing project. My biggest problem, as always, is using the feed sack as fabric. It is slippery and sometimes jams the needle in my sewing machine. Going slow seems to help.
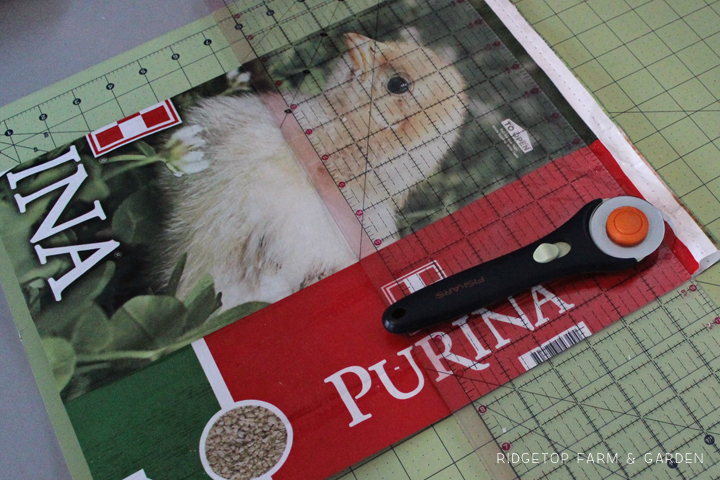
CUTTING THE BAG FOR HEIGHT
Trim the top and bottom of the bag to 12″ high.
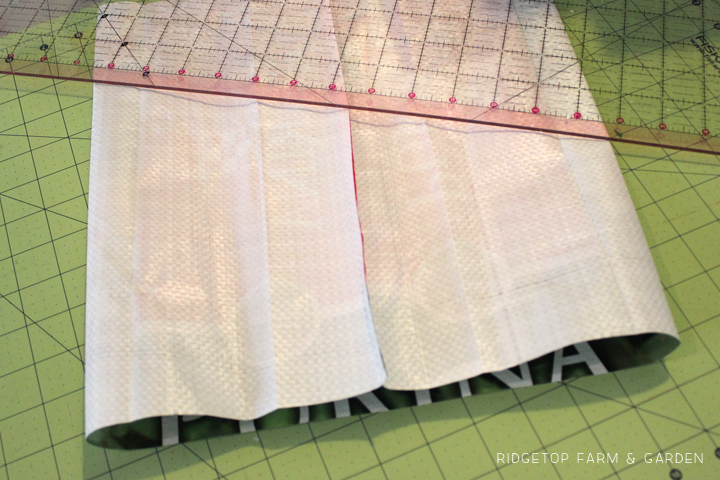
CUTTING THE WIDTH OF THE BAG
Using scissors, cut the back of the bag down the middle.
Fold the bag in half(ish), centering the front.
From the center line, measure over 14″ & cut.
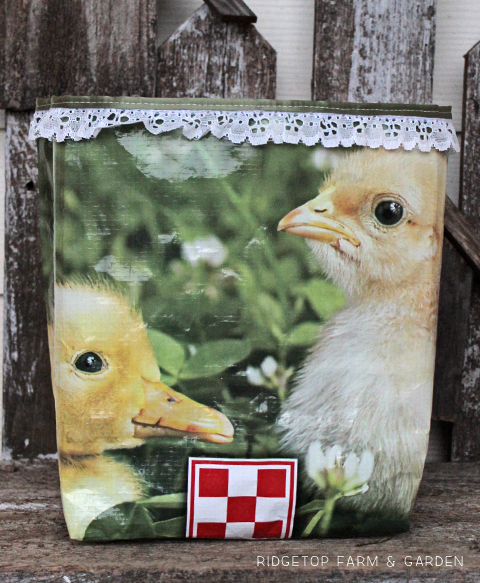
ADDING EMBELLISHMENTS
These bags were meant to be placed in my kitchen window and/or front porch, so I wanted to add just a little something for a homey feel. I have quite the lace and ribbon stash, so I chose to use them for the added decor.
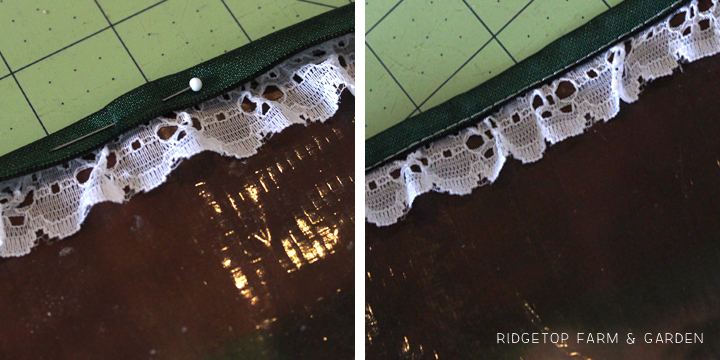
It is easiest to add the lace and ribbon while the bag is one flat piece of fabric. I prefer to sew on the pretty stuff prior to sewing the bag back together.
To hold the lace in place while sewing, I first used a bit of fabric glue. It wasn’t totally necessary, but, it did help.
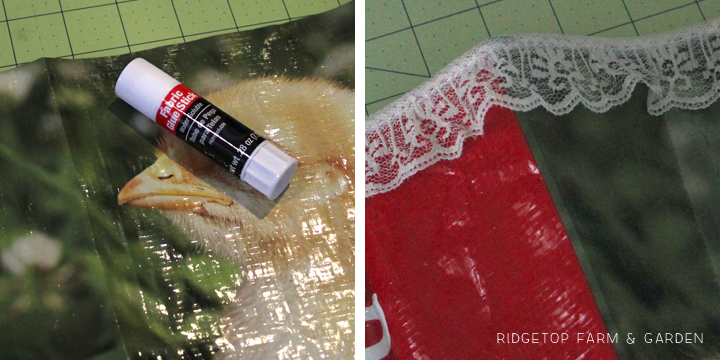
I chose a medium width ribbon, so there was enough to fold over the top of the bag. This created a nice, finished look to the bag.
SEWING THE BAG BACK TOGETHER
Fold the bag in half, inside facing out. Sew along the open edge about 1/2″ in. I sew a double line for extra durability.
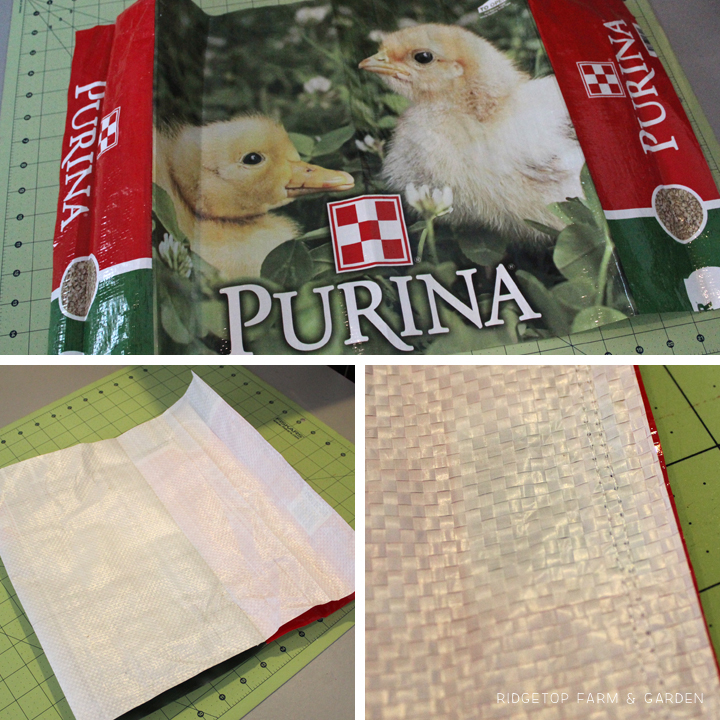
Arrange the bag, inside out, so the seam is in the middle of the back. This ensures that the design on the front of your bag is centered.
Sew along the bottom edge.
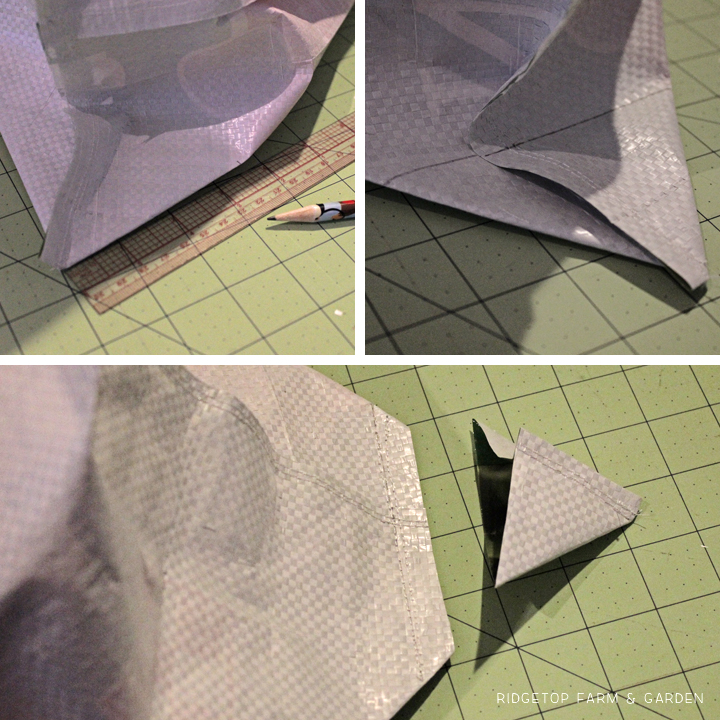
BOXED CORNERS
The boxed corners are tricky to figure out at first. But, once you figure out how to fold the bag, they’re a cinch.
First, fold/push the bottom of the bag at each side to create a corner. The corner you make lays flat, but don’t expect the rest of the bag to.
I prefer these herb bags to have a wide bottom, so I create a fairly large boxed corner. On each side of the pointy corner, measure and place a mark at 3.5″.
Draw a line connecting the marks.
Sew along the line. Again, I do a double stitch.
Trim off excess fabric.
Repeat on the other side.
Turn the bag so the pretty side is out.
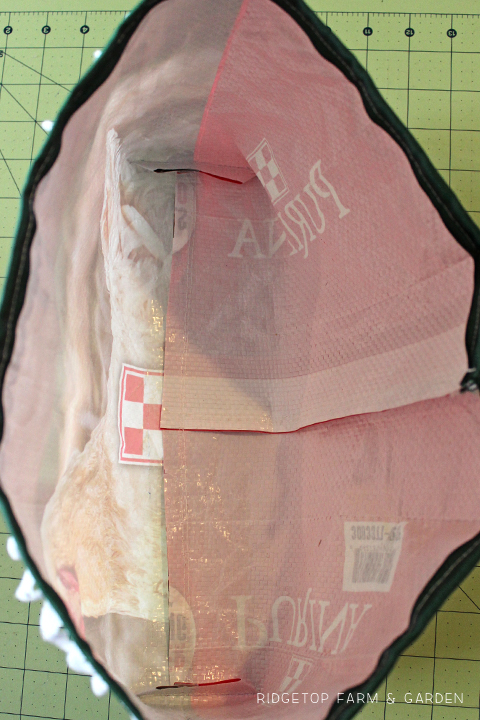
A PEEK INSIDE THE BAG
When done, the inside of the bag should look similar to this:
THE BAG IS COMPLETE
FILLING THE BAG
I put about 2″ of gravel at the bottom of the bag to help with drainage.
Next, I added dirt & compost.
Finally, I added plants. I started plants from seed earlier in the season, so I used those in the bags. Some bags had herbs, some had lettuce & kale.