A few years ago I made a cement leaf & since then have been wanting to do it again. I finally did it.
I love this craft for a couple reasons. First is just because it’s something different than my typical paper & sewing crafts. Also because it doesn’t have to be perfect. The imperfections make it fun & arty.
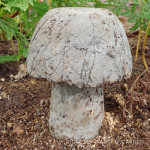
The one I made 3 years ago looks as good today as it did when I made it. I’m hoping to have the same luck with these ones.
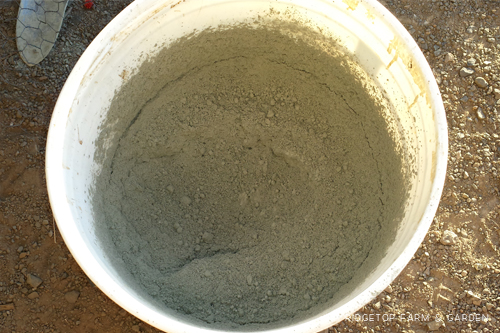
• Mix in enough water to make it a thick brownie batter consistency
• Make a mound of sand (this is to hold the form of your leaf)
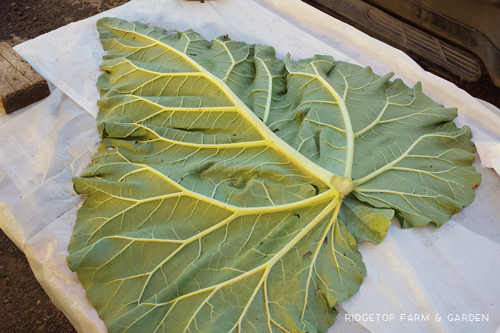
• Place a large leaf, veins facing up, on top of the sack
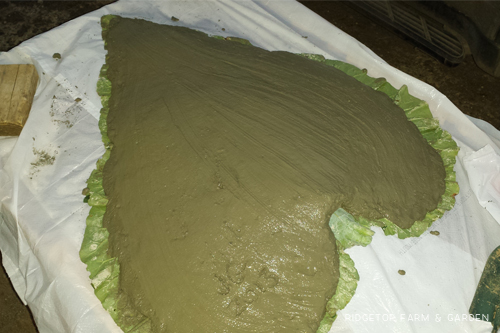
Applying Cement:
• Put on gloves!
• Use your hands or trowel to lay cement on the leaf. Cover most of the leaf, but stay just inside the edge.
• On top of the first layer of cement, place a piece of chicken wire that’s been cut just smaller than your cement. This helps strengthen your leaf.
• Lay down another layer of cement
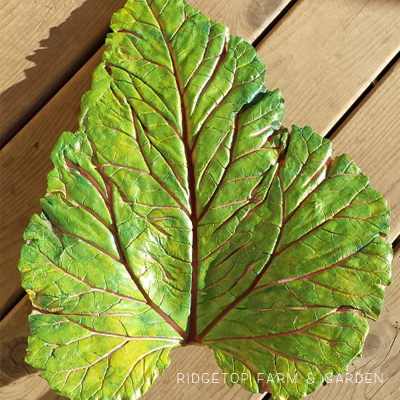
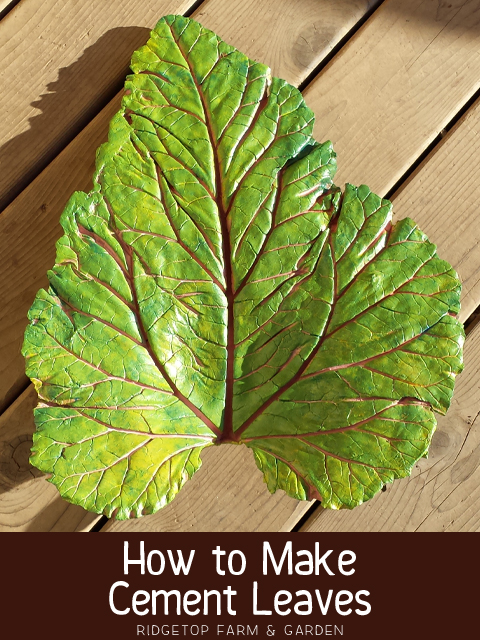
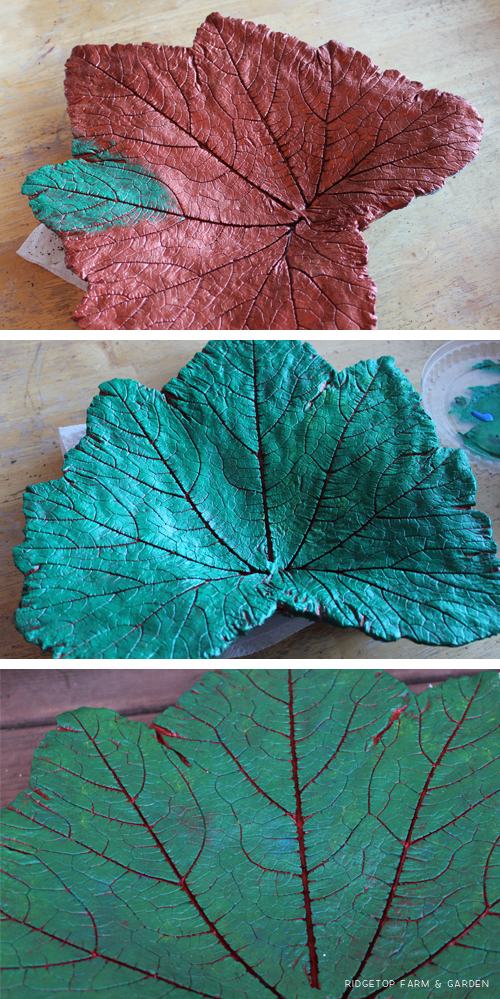
• I used an outdoor acrylic paint for my leaves.
• First, I painted the leaf the color I wanted the veins to be. I used a paint brush, making sure to get paint in all the cracks & crevices.
• Next, I used a large sponge to paint the leaf a green color, trying not to get the green in the veins.
• Last, also using the sponge, I randomly added other colors to give the leaf a more natural feel.
Finished Products:

Now, where to put them?