As a kid one of my favorite past times was playing with Barbie’s. I am lucky enough that my mom saved most of my Barbie’s & their stuff. Now that I have a daughter, I wanted to give her those things.
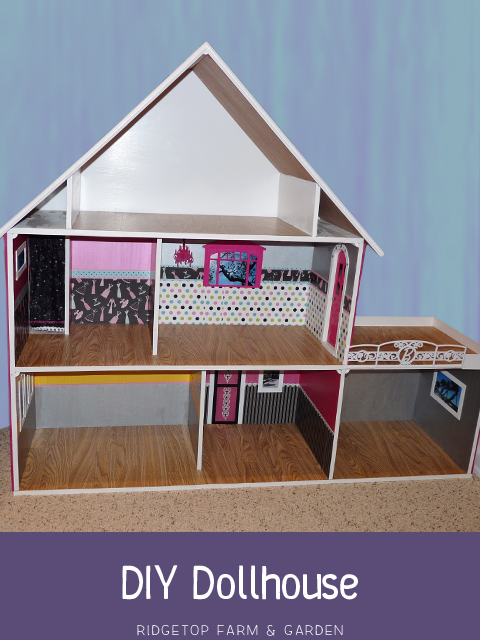
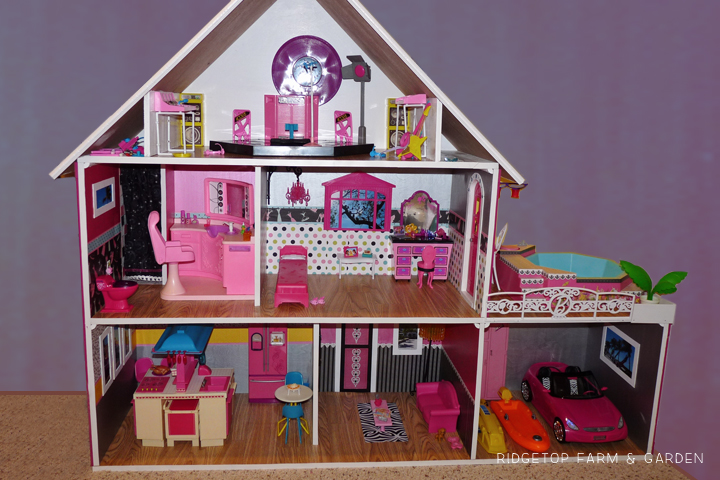
I also had a Barbie dream house, but mom didn’t keep that. I enjoyed that house so much that I wanted my daughter to have one as well. I looked at various brands & types of dollhouses, but none of them would work for holding my old stuff (at least not at an acceptable price). So, I figured if Farmer John can build himself a Man Shack, he could surely help me build our daughter a dollhouse. Between the two of us we built her a fantastic Christmas present.
THE WALLS
The house is built from 2 – 4’x8′ sheets of hardboard. I used 1/2″ board for the walls & floors. The back & roof are 1/4″. I got mine at Home Depot & asked them to cut the boards at 55″, so they would fit in my car. I should have been more patient and had Farmer John pick the boards up for me next time he went to Home Depot with the truck. But, I wanted the boards the day I went, so I was going to get them, darn it! I barely squeezed them in my car, but they did fit.
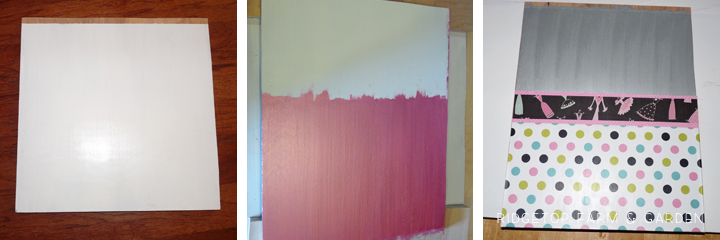
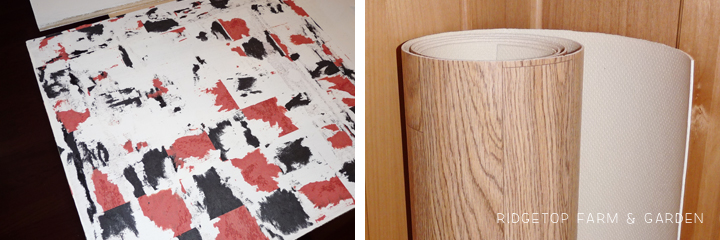
Next, I marked the cut lines for the walls & Farmer John cut the boards.I layed tape where the walls & floors were going to come together & also where the supports were to go. Farmer John told me it would be better to have the wood stick to more wood, than to paint. We had leftover white paint from painting our real house, so that’s what I used for a primer layer. Next I used a metallic pink & metallic silver acrylic paint to paint the walls. I put on two coats. The “wallpaper” is scrapbook paper that I decoupaged to the wall. I probably should have practiced a bit. There’s a number of places that have bubbles. But, I decided Barbie wouldn’t mind, so I didn’t worry about it too much.
THE FLOOR
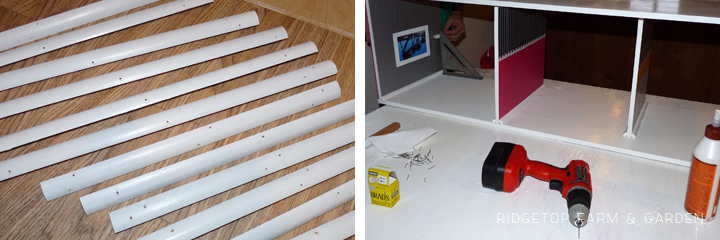
PUTTING IT TOGETHER
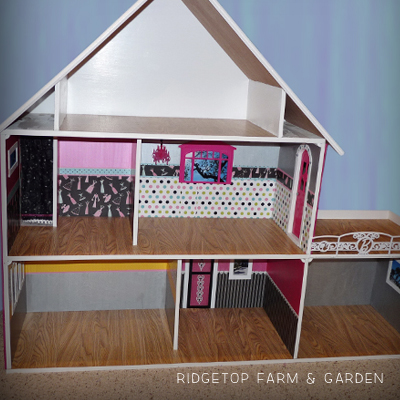
Farmer John & I seem to make a good building team. He’s always worried about function & I want it to look good. Somewhere we compromise & things usually work out. Farmer John was concerned that the house wasn’t going to be strong enough so we added supports at the ceilings of the 1st & 2nd floors. I used 1/4 round trim, painted it white & predrilled nail holes. I don’t know if the house really needed these or not, but I can say that the house is nice & sturdy. After I decorated all the interior walls & layed down the flooring it was time to put it together. Piece by piece Farmer John & I got it done. We used gorilla wood glue & small nails.
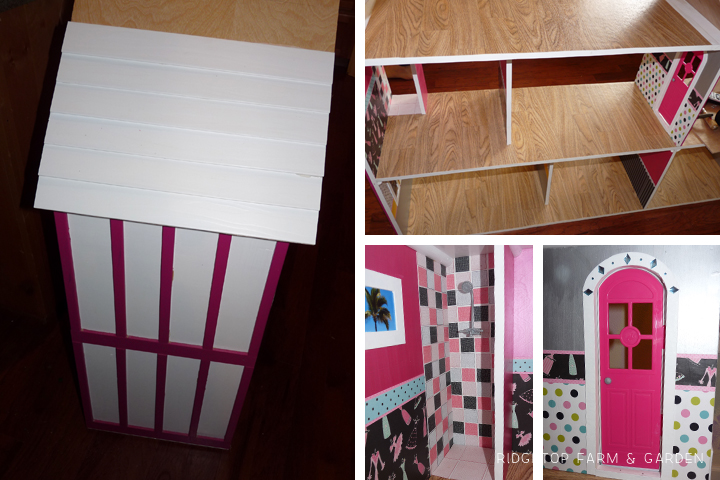
SIDING, ROOF & DETAILS
For the siding, I painted the hardboard white & bought some trim, which I painted pink. Originally I wanted windows in the house. But, to purchase real dollhouse windows would have cost more than I spent on the rest of the house. So, that was a no. Then I decided I would make faux windows. I did do this for the inside & I don’t care for them much. They look like pictures hanging on the wall as opposed to windows. I didn’t feel like tearing them off, so I left them. But, I didn’t want it to look like there were pictures hanging outside on the siding, so I didn’t try to incorporate windows. I actually like the way the siding turned out. I think it’s simple, cute & goes with Barbie’s style.
A couple years ago we put faux wood blinds in our real house. Farmer John had to trim some of the blinds so they would fit our windows. Those trimmed off chunks looked too good to throw away. I knew I would use them for something. Barbie’s roof is where we ended up using them. Farmer John trimmed them to size, I used gorilla glue to secure them & they worked out perfectly.
I bought a couple Barbie items so I could take them apart & use the pieces. I’m sure Farmer John wanted to kill me for that because it was his job to figure out how to attach those silly plastic pieces.
I painted chipboard white to use as trim around doors & windows. The views looking out the “windows” are pics I took on our cruise to Mexico. In various places I decorated with stickers. I glued on a gold bead to act as a doorknob on the 1st floor fake door. All the fronts of the floors & walls are covered in a melamine edging. That edging went on easily enough & looks good, but I’m afraid it’s not going to last. It’s already starting to peel off in a few places. I painted a piece of decorative wood trim, though, for the edging along the roof line.
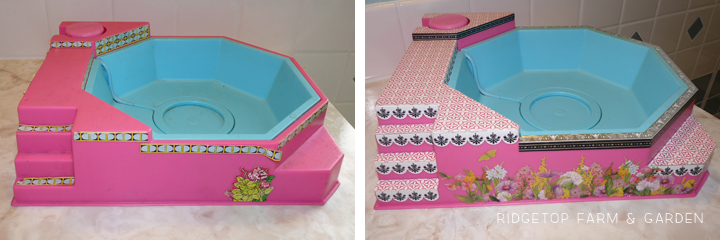
UPDATING MY OLD STUFF
I peeled off the old stickers & washed it. Then, cut scrapbook paper to fit. I decoupaged the paper and various stickers to the hot tub hoping that if it ever did have water in it that the decorations won’t fall off.
THE ROOMS
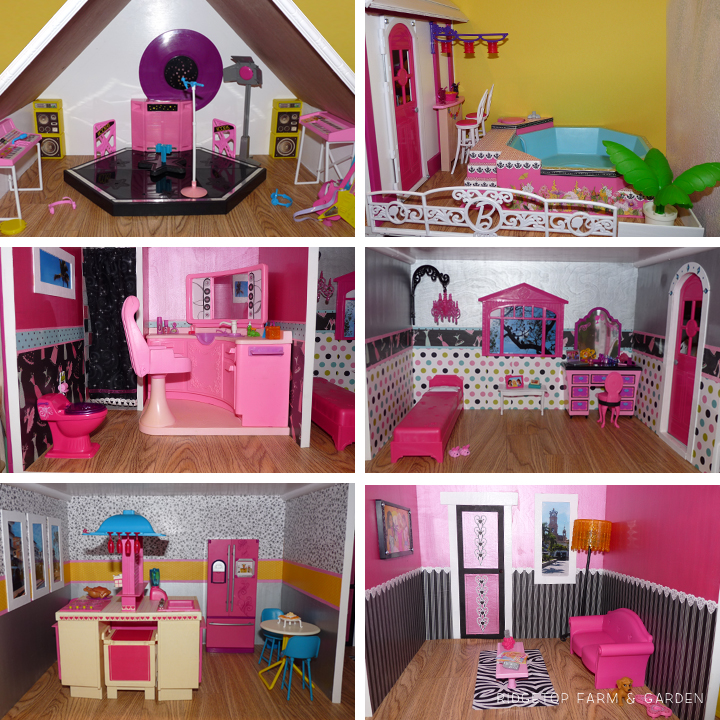
Jam Room
I was contemplating how to utilize the top floor. When I found my old Barbie & The Rockers stuff, I new it would be perfect. Anybody else remember those guitars & keyboards? They were super 80’s and super awesome!
Deck
The deck was a must since I had the old hot tub. I was thrilled that it can still bubble the water. The funky plant is old, too. The bar, stools, drinks & light are new.
Bathroom
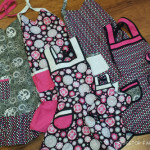
The toilet is new. I sewed the shower curtain. The salon was mine & has updated stickers along the mirror.
Bedroom
The bedroom has all new decor. I’m thinking about sewing a blanket for the bed and maybe a rug for the floor.
Kitchen
I’m quite pleased with how my old stuff works so well with Barbie’s new furniture. I used to play with the kitchen island when I was a kid. The only updating I did was reglue some of the original stickers. The oven timer sound still works. Yay! The faucet is broken off. Bummer, but no biggie. One day maybe I will get around to finding a trinket to work as a faucet. The table & chairs were also mine. The refrigerator, food, cups, plates, etc are new.
Living Room
Everything in the living room is new. The door is fake & made from two layers of chipboard.
Garage
The little pink convertible car was on sale at Target & fits perfectly in the garage. The other things are some of my old goodies.
READY FOR PLAY
This was such a fun project for me. It makes my heart very happy to share this stuff with my own daughter. My grandparents used to have a wood dollhouse (not Barbie sized, but still a dollhouse). My favorite thing to do with that dollhouse was to make decorations for the walls. Now, I’ve been doing the adult version of that. I’ve had so much fun reliving my childhood!