Years ago, when I made my first hypertufa & cement projects, I built a bench. It wasn’t pretty, but it was a bench. I’ve always thought it was boring, but didn’t know how to fix it.
At some point I decided to try mosaic. I had never mosaiced anything & this bench was a good place to learn. It’s not as if I could really make the bench look worse than it already did, so I gave mosaic a try.
BENCH BEGINNING
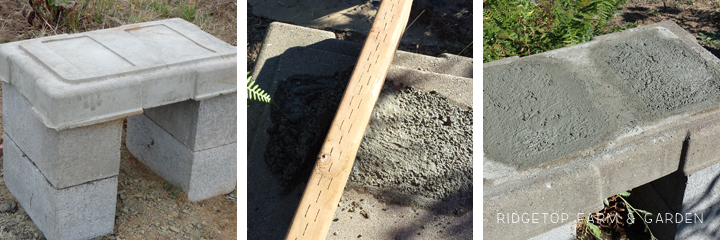
WORK IN PROGRESS
I came up with a design for the mosaic & ordered tiles from Mosaic Art Supply.
Next, I drew the design on the cement using pencil & layed out the basic areas of each color.
Section by section, I applied mortar and placed the tiles. This was my first ever mosaic. So, I’m not sure I mortared the tiles in the best order. But, it seemed to work.
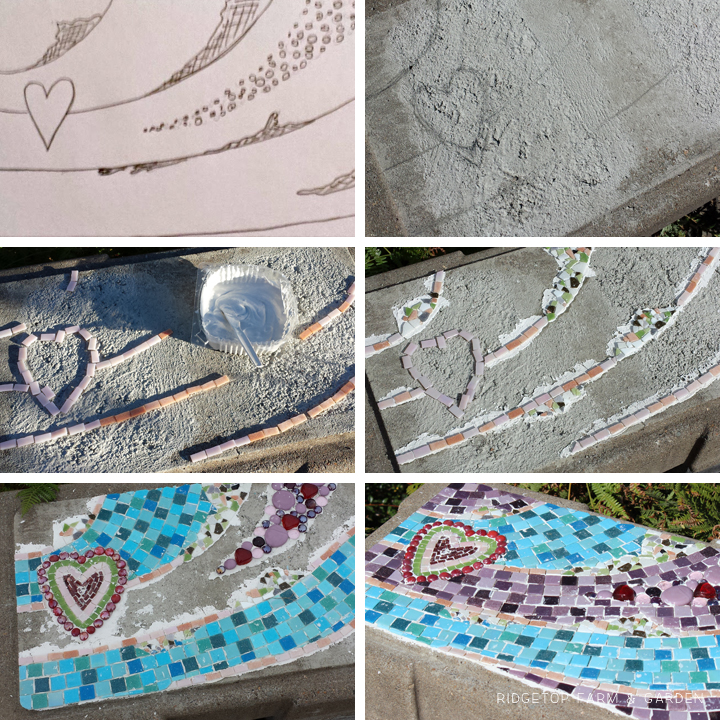
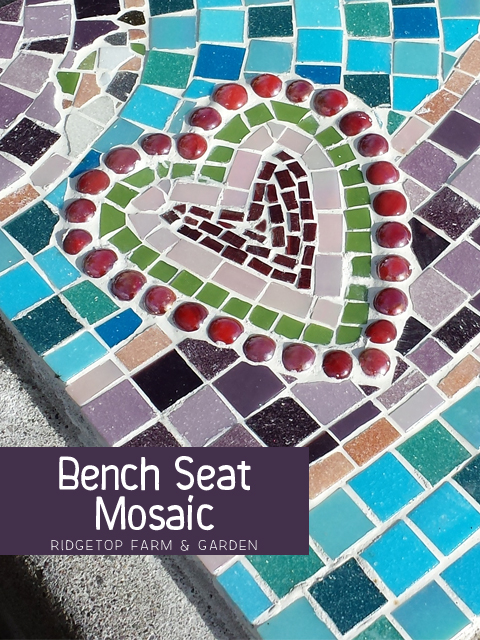
COMPLETED MOSAIC BENCH SEAT
Here is the finished bench seat complete with grout. I feel like I need to clean up around the edges a bit, but overall I’m happy with the way it turned out.
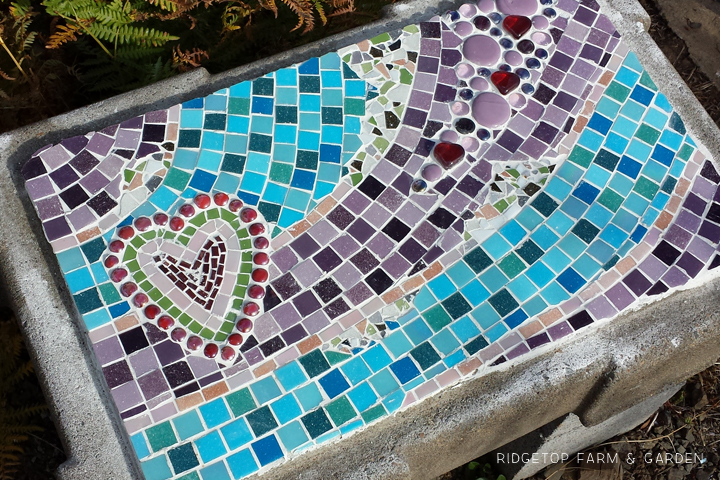
I can now say I have created a mosaic. And, I have leftover tiles, so I will get to mosaic again. Oh, the possibilities.