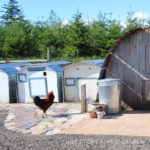
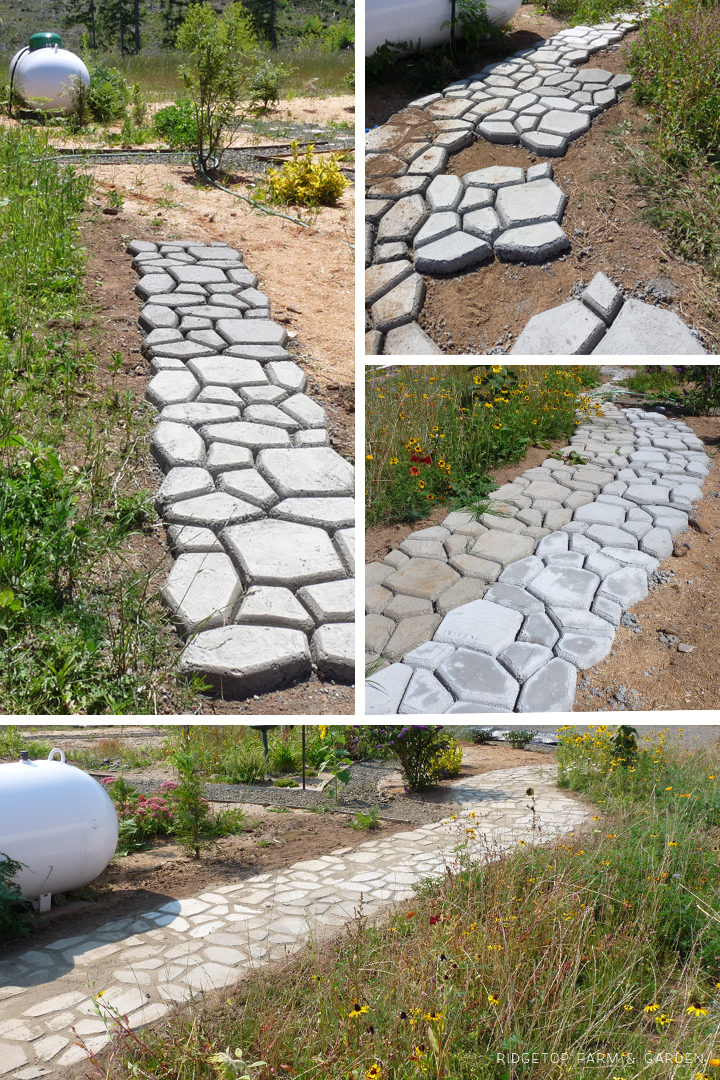
The summer of 2009 was spent installing a cement path in our bird village. I could complete 2 forms worth each day while Farm Girl napped. By summer’s end I had a 4′ wide path meandering between the bird village and our little meadow. At the time the path didn’t have a good place to end. So, it just stopped on the backside of the meadow. My idea was that one day we would have a deck or patio at the back of our house and I would continue the path to wherever worked best to go with the deck/patio.
It took 7 years, but we now have that patio. Next up was completing the path – which we just did a couple weekends ago. Woo hoo!
My Method
Let me preface this post by saying nothing about my method is perfect. The path itself is not absolutely level. It’s level enough. The path is not perfectly straight. It’s straight enough. It’s slightly wonky and rustic, which fits right in with the rest of our yard.
Materials
This section of path is 4′ wide by 20′ long. Here are the list of items we used:
• 20 – 80 lb bags of concrete
• 2 – 50 lb bags of play sand
• 1 – Shovel
• 1 – Broom
• 1 – Walkmaker Form (we used the Country Stone Pattern)
• 1 – Trowel
• 1 – Finishing Trowel (or board at least 2′ long)
• 1 – Mini Cement Mixer (or Wheelbarrow)
• 1 – Gloves (cement is horrible on your hands)
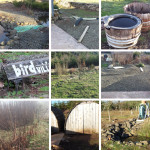
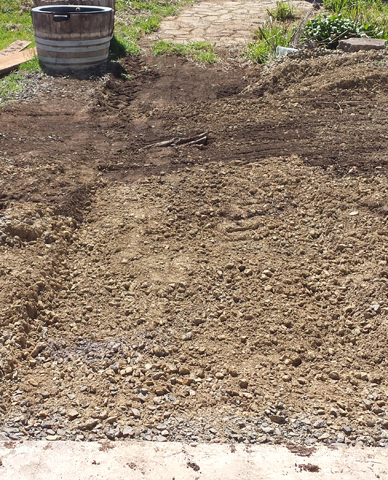
Prepping the Area
Using a flat bladed shovel I “leveled” the path-to-be area. Because the cement will creep into low spots I didn’t worry about making the entire area perfectly level. I made sure the path would be at an equal height where it met the patio and also where it connected to the original path. Other than that I just eye-balled and dug out a gradual slope between the two places.
Making the Path
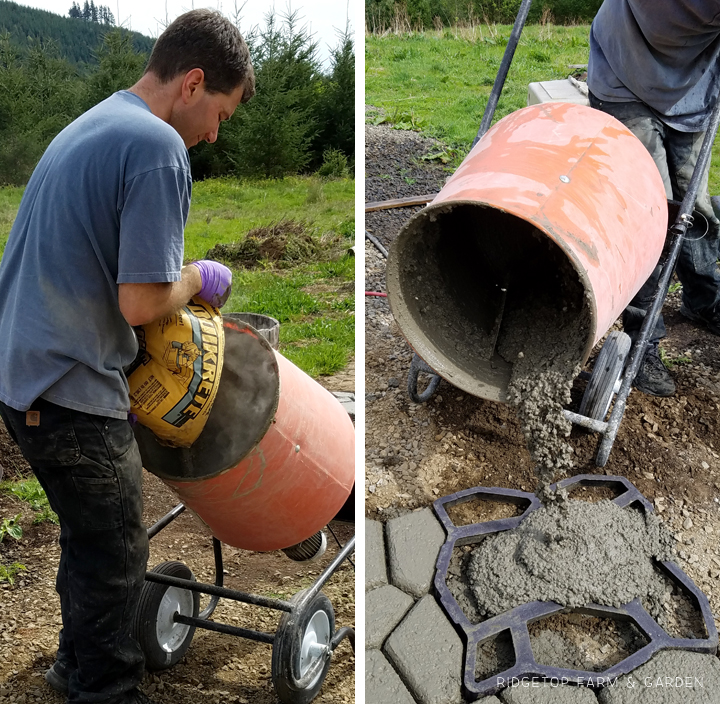
I mixed all the cement for the original path by hand. It got the job done and I love the path. But, I wasn’t stupid enough to do it again that way.
This time Farmer John rented a mini cement mixer. Together, we completed this section of path in an afternoon – as opposed to it taking me all summer.
I don’t know the ratio of cement mix to water we used. Farmer John just added water as needed. When I mixed the cement by hand I added more water then he did in the mixer, but it’s really just personal preference.
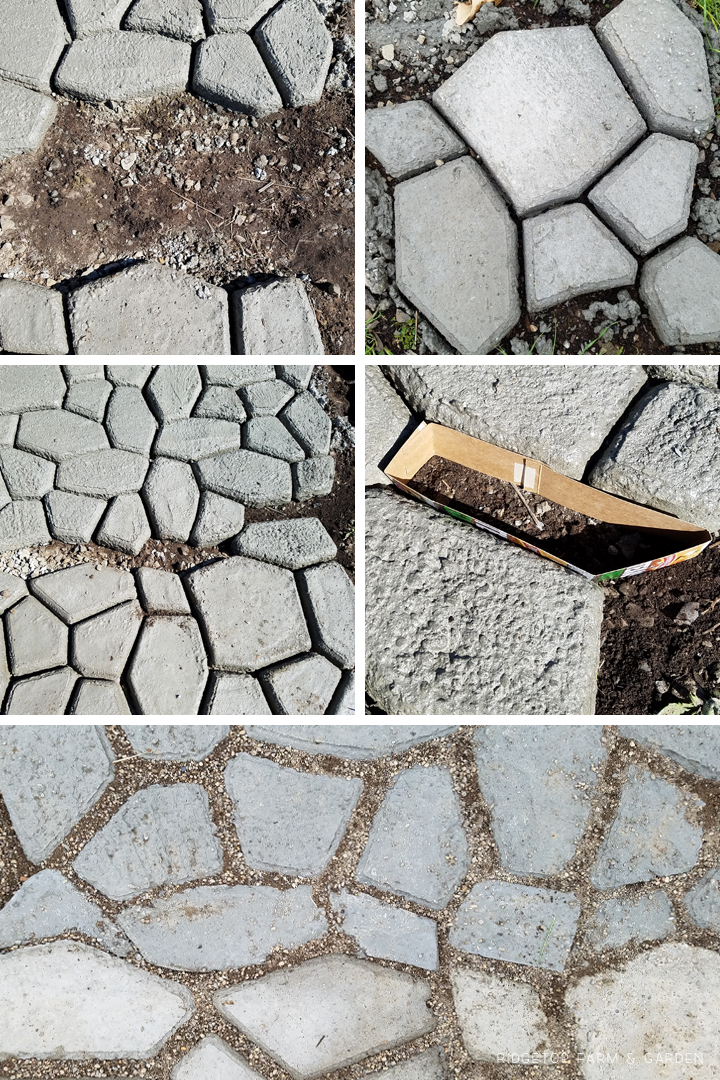
I would line the form up so the top was level with its neighboring cobblestones. Sometimes this meant digging out or adding a little dirt to get the form level. It’s not a difficult task, but it can be time consuming.
After Farmer John poured the mixed cement onto the form we used a trowel to push it into the different spaces, making sure to push the cement into all the corners. We have a finishing trowel to level the cement… but an old board was closer so we used that instead.
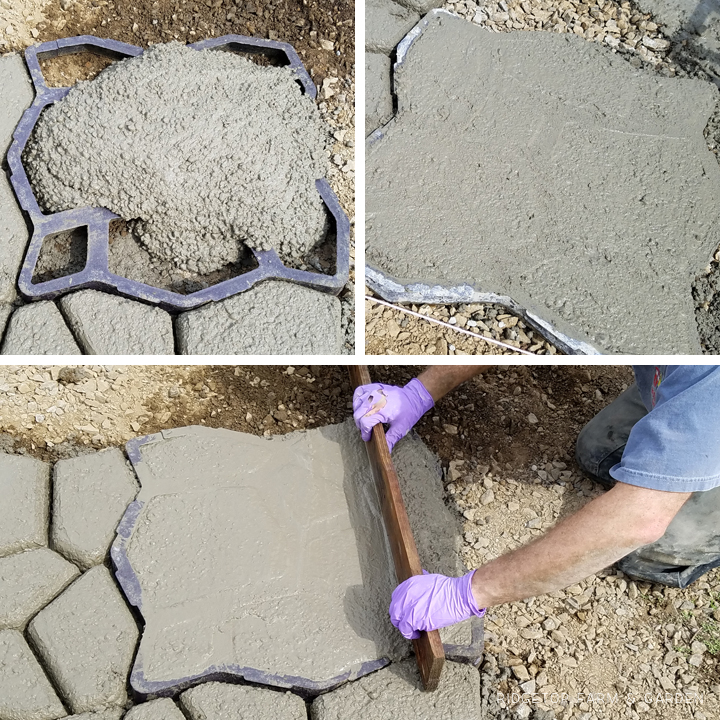
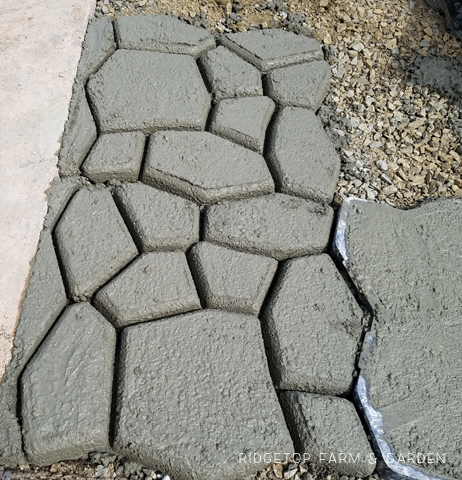
When moving along the path, we rotated the form a quarter turn to vary the directions of the cobblestones.
We repeated these steps for hours. Align the form, mix cement, pour cement, squish cement around to fill in all the cavities, level cement. Repeat section after section. I knew the process was slow. However, the turtle speed drove Farmer John bonkers.
Combining the Two Paths
It did get a bit tricky where the old and new path came together. I knew there would be a space at the beginning or end of the path where the Walkmaker form wouldn’t fit perfectly. I chose to start this new section at the patio end of the path so any space where it didn’t line up could be better hidden among the already unperfect cobblestones as opposed to the straight edged patio.
Sure enough when we got to the old section of path there wasn’t room for the form to fit, yet there was a big gap that was going to need filled. My solution for the majority of the gap was to use the form just as I had with the rest of the path – except I had to move the form away from the path so it could lay flat. After the cement dried a bit, I picked the pieces up and moved them to the path. It worked fine. It was just a little more difficult digging out the ground to make sure the top of the cobblestones lined up so there weren’t major tripping hazards.
Even after moving the individual pieces there were still small gaps to fill. I made cardboard forms to fit in those areas and filled them with cement. It’s not perfect, but I am probably the only person who knows about the inconsistency.
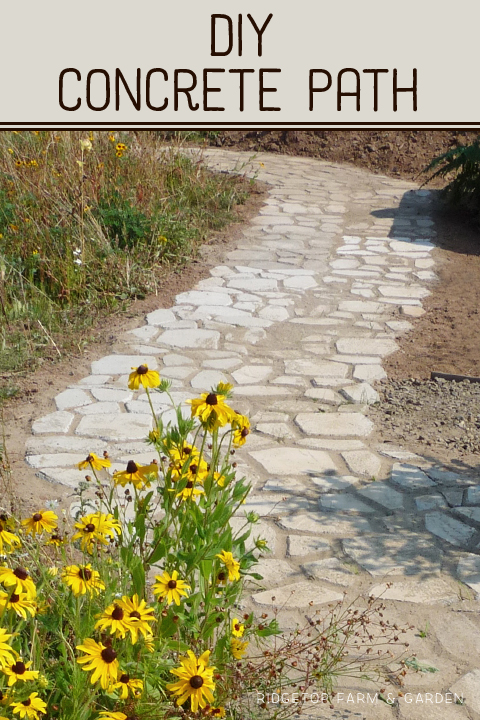
Finishing the Path
After the cement dries (I waited 2 days), the final step is filling in between the cobblestones with sand. I dumped 2 bags of sand on the path, then used a broom to push the sand in all the crevices.

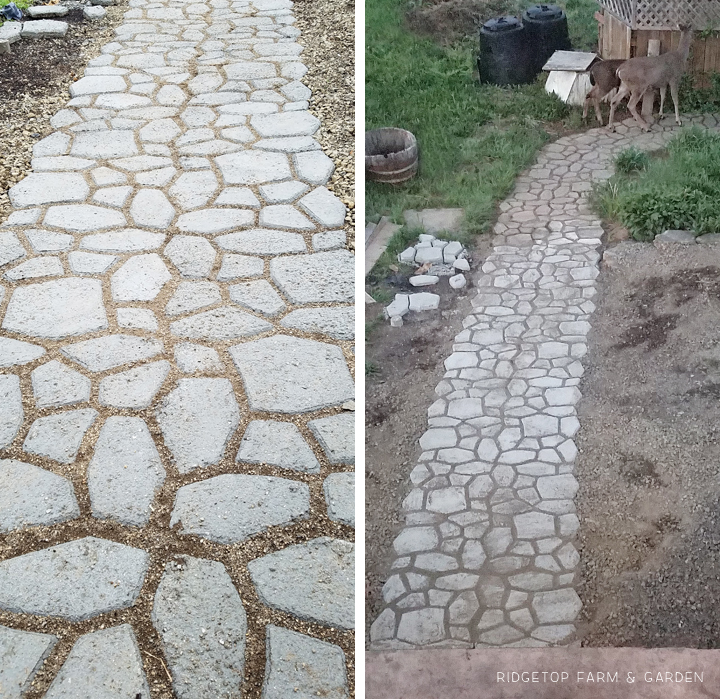
And, Done!
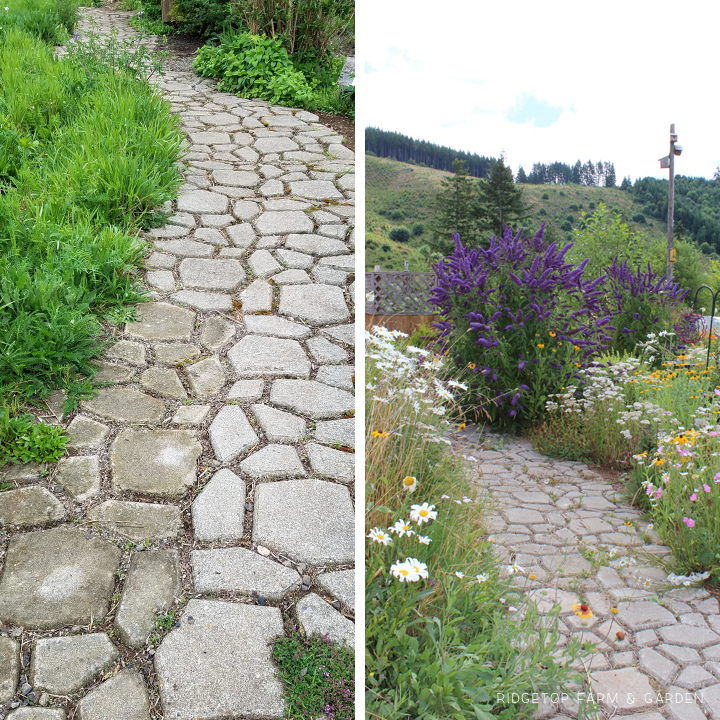
The photo on the right shows the problem with completing this project 7 years later. There is a definite difference between the cement recently poured and the original path. Oh well. I’m so happy to have the path complete, it hardly bothers me.
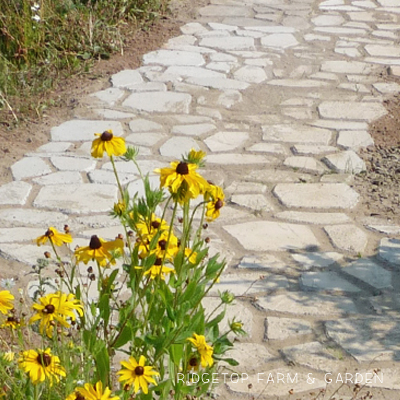
The Original Path
I started out making the path one form (2′) wide, but soon realized it should be wider. So, the path is two forms (4′) wide.
I purposely added curves to the path. I used a similar method to what I mentioned above when I combined the old and new paths. However, now that I’m done I notice on the Quikrete site they show an alternative (probably better) way to create a curve.
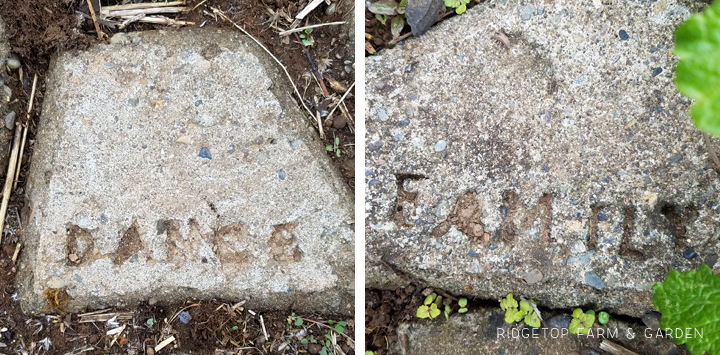
In the original path I tried stamping words into some of the cobblestones. It only worked so-so. So, I didn’t bother adding words to the new section.
I repeated the Walkmaker form over 50 times to create the first section of path. It was worth it.
This original path was one of the first hardscaping projects I started when we moved here. It feels fabulous for it to be complete!