
One of my goals this year was to figure out something to do with at least a few of my photos. I love photographs printed on canvas, but they’re a little spendy for my ordinary every day photos. So, I came up with my own much cheaper version. Mine all cost less than $5 each & the smaller ones were much less than that.
I bought all my canvas when it was 40% off at Joann’s. I had Costco print the pics. The paint and other odds & ends I already had in my craft stash.
I had intentions of getting fancy & using my cricut to add embellishments. I even thought I would add a meaningful quote to one or two. I still like those ideas, but I was really liking the simplicity of the not-so-fancy. So, that’s what I went with on all my pics.
• Basic Technique •
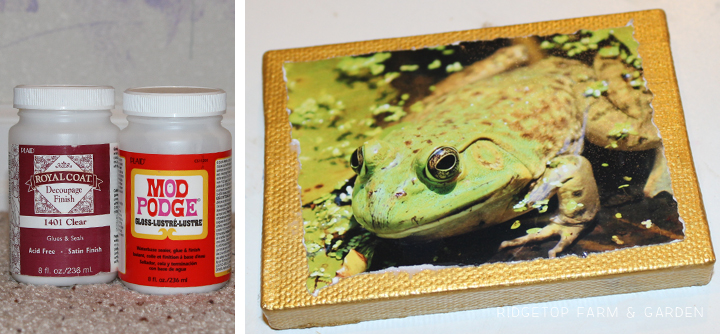
Items Needed
• The 2 main ingredients are canvas & a photo. There are many size options. I’ve done itty bitty 3″ x 3″ square canvases, as well as large 16″ x 20″ canvases. And, everything in between.
• You will also need paint – I typically use acrylic. And, a paintbrush.
• Decoupage or mod podge medium is also needed. And, a brush to spread the glue.
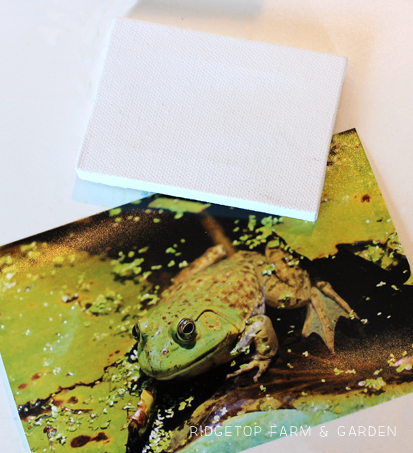
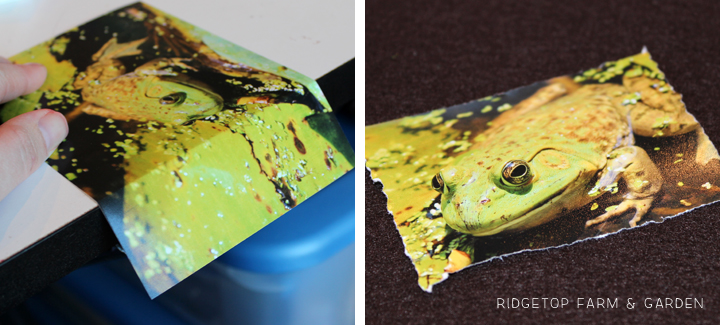
Trimming the Photo
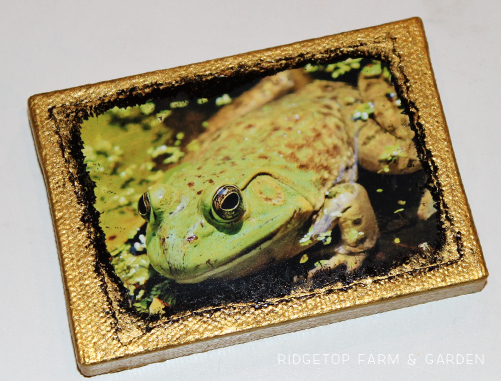
For many of the photos I wanted a rough edge. So instead of using a trimmer to cut the edges I folded them, then tore the edges against my craft table.
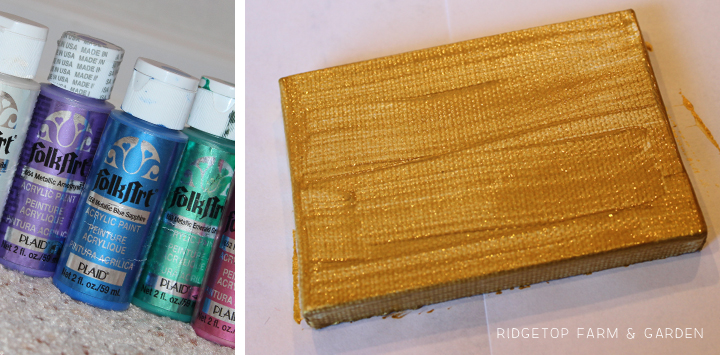
Painting the Canvas
Next, set the photo aside & paint the canvas. I chose gold acrylic paint to match the frog’s eyes in the photo. Let the paint dry before moving to the next step.
Adhering the Photo to the Canvas
To glue the photo to the canvas, I use decoupage or mod podge medium. Either one works fine.
I put a little glue on the canvas itself. Then, I spread glue on the back of the photo, paying attention to reach the edges and corners. After gluing, position the photo on the canvas and rub out any bubbles so the photo lays flat on the canvas.
In Mr. Frog’s case, I decided he needed a border around the photo edge to help him stand out. So, I let the glue dry, then painted a border. After the paint dried, I applied a layer of mod podge over the top of the entire photo and canvas. This helps the photo stay in place as well as protect it from everyday elements.
Instead of waiting for the initial glue to dry, like I did with Mr. Frog, you can apply the final layer of mod podge right after gluing your photo to the canvas. I don’t seem to have better luck one way or the other. Either method can occasionally result in unwanted bubbles in the photo. Sometimes I don’t even bother with the final coat of mod podge.
Mr. Frog, The Complete Masterpiece
More Canvas Ideas
Blended Color Background & Straight Edge
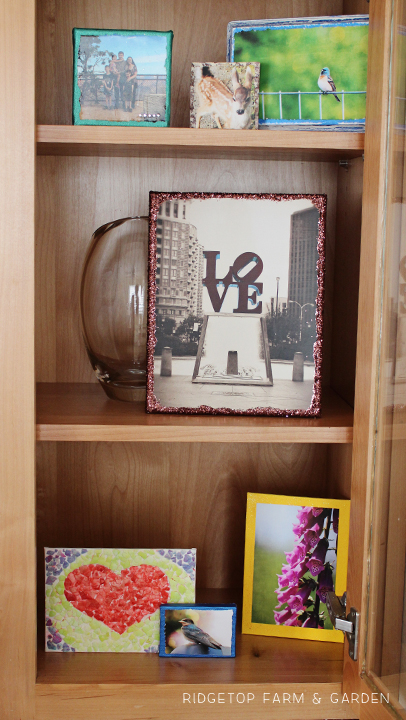
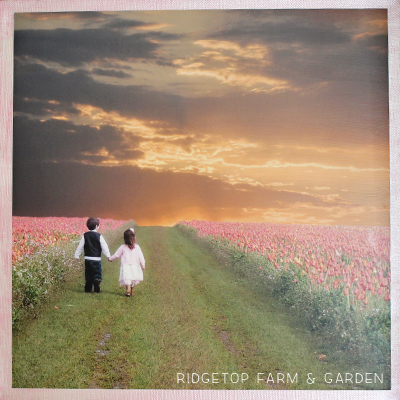
This is one of my favorite photos & was taken a few years ago at the Wooden Shoe Tulip Fest. I definitely wanted to add this one to our spring display.
Instead of painting the background just one color, I blended a few shades of pink. Also, I used a straight edge for the photo, as opposed to a torn edge.

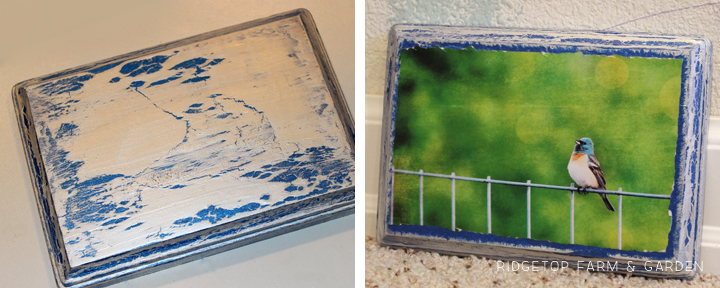
Wood Block & Crackle Effect Paint
For this western bluebird photo I used a wood block, as opposed to canvas. The background has a crackle effect.
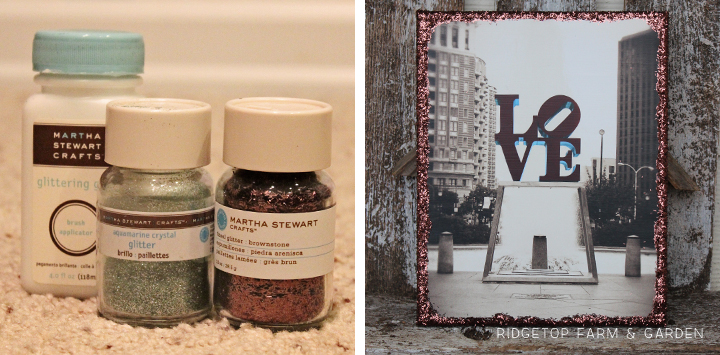
Glitter Edge
Glitter! I love glitter! For the Love Park canvas I used my basic technique, then added one extra step for the finishing touch. After the decoupage glue was dry, I brushed on glittering glue around the edges of the canvas, then sprinkled glitter over the glue.
On Display
I have the finished pics on both sides of our china cabinet. I change the photos with each season.