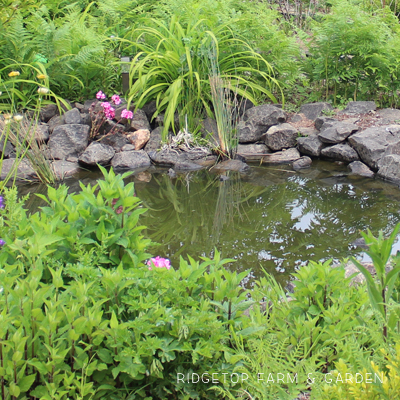

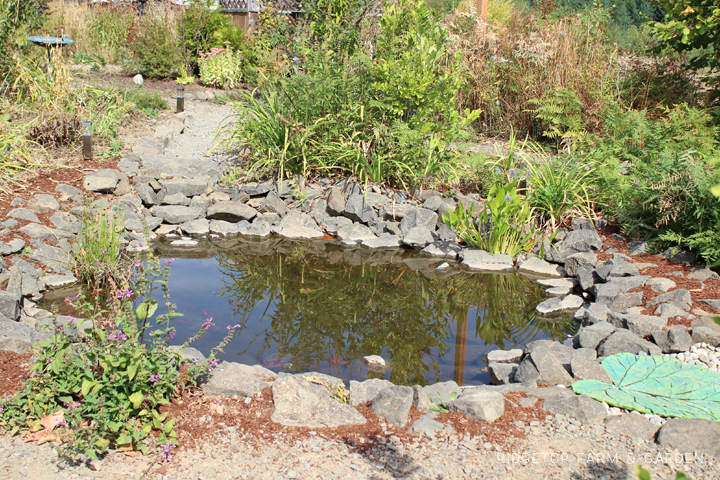
This spring we began installing a pond in an area of the Bird Village that has always been problematic. I worked on it in the cool mornings of summer & it’s finally complete.
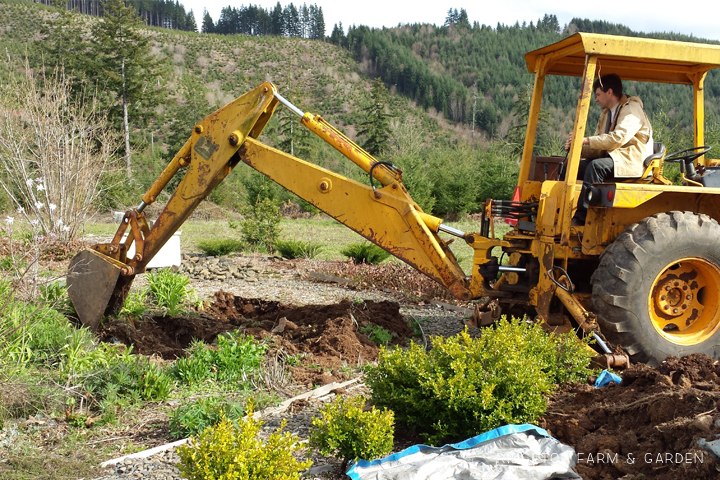
DIGGING
The basic shape was dug out by Farmer John using a backhoe. It made a mess of my bird village rather quickly.
MAIN POND
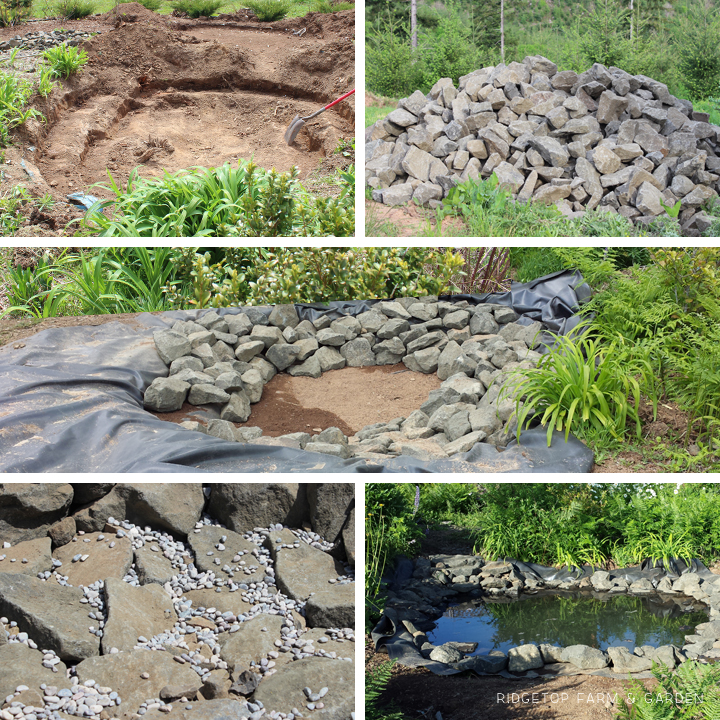
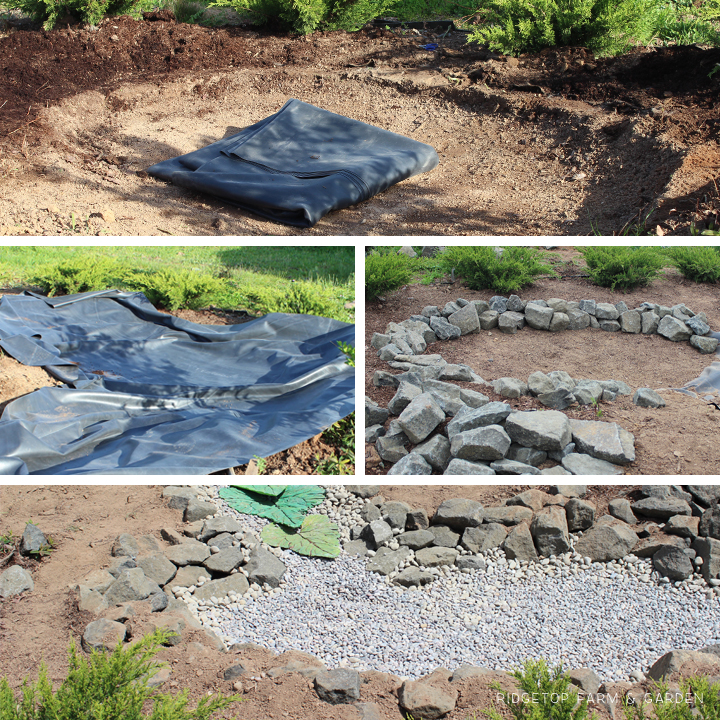
Top Left: I carved the finished design using a regular ol’ shovel. The main pool has ledges all the way around to hold the large rocks.
Top Right: We had a dump truck load of rock delivered. It probably ended up being twice as many rocks as we needed for the pond. But, I’m ok with that. I’m always wanting rocks for various projects. Now, I have them.
Middle: I slowly brought rocks over to edge the pond. I just stacked them in so they fit nicely and didn’t wobble.
Bottom Left: I used a combination of large flattish rocks & pebbles for the bottom of the main pond.
RUN OFF COLLECTION POOL
All the rain water from our gutters drain right about where the left back edge of the main pond begins. In the beginning days of the bird village, we tried turning the area into a bog garden. We didn’t do it correctly & so it wasn’t very boggy most of the year. What we did learn from that experience, though, is that excess water drains right out over the path, making a mess of it. So, we built a drainage area for this pond and then added a smaller pool to collect the water. The drainage area does go right through our walking path, though. Eventually, Farmer John is going to build a cutesy little bridge to go over that area.
Top: Somehow, the pond area was bigger than I was envisioning and I spent a small fortune buying a good pond liner. It’s always recommended to put down an underlayment between the ground and the liner. I didn’t. I don’t have a good reason, I just didn’t. We don’t have rocks in our clay dirt, so I’m not too worried about one coming up from the ground poking a hole in the liner. Also, I was just being cheap & lazy.
Middle Left: Laying out the liner.
Middle Right: I worked on the pond as often as I could, but I knew it was going to take awhile to complete. So after laying out the liner, I scooped dirt on top of it. I was hoping the dirt would protect the liner from the sun & also from wondering critters & children. It seems to have worked. Right before adding pebbles to the bottom of the pool, I threw out some of the dirt. I didn’t bother getting it all out. I’m going for a naturalistic pond. Pond’s have dirt.
Bottom: The smaller pool got pebbles to cover the bottom.
DRAINAGE
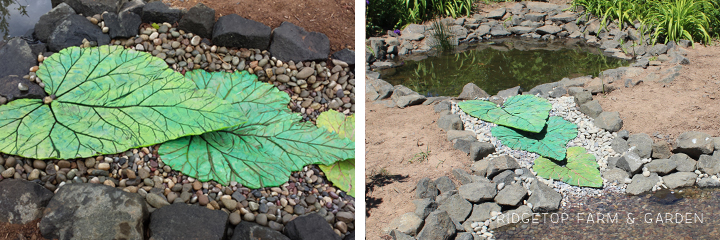
Last year, I made cement leaves. They’ve been laying around since then as I’ve been searching for a good spot for them. I ended up laying them across the drainage area connecting the main pond to the smaller pool. I don’t know if this will be there permanent home. But, it works for now.
2014
2015

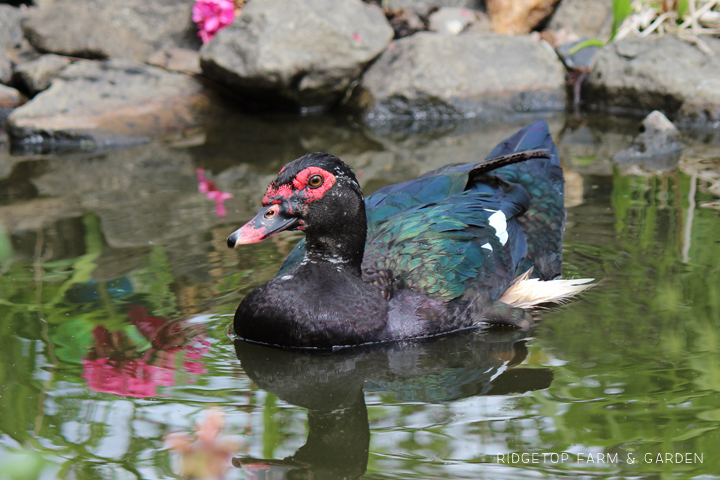
DUCKS
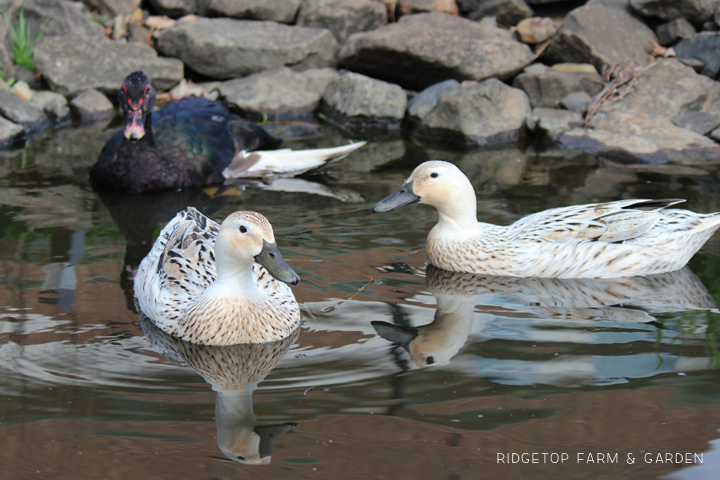
Our ducks have, of course, found the pond & love swimming in it.
CRITTERS
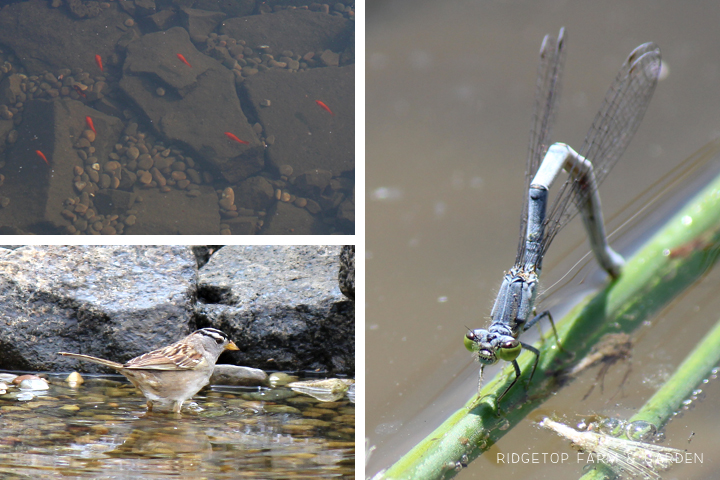
You may or may not have noticed that this pond does not have a pump or filter. Nope it doesn’t. It would be nice to set that up one day. But for now, we don’t have electricity in the Bird Village. No electricity means no pump or filter.
I’m not too concerned, though. Our other pond that we put in years ago has never had a pump or filter and does just fine. That pond had the same problem. No electricity. There is now electricity near that pond, but we still haven’t hooked up the pump or filter… However, now I think its because Farmer John repurposed those items for the aquaponics system. Ah well, one day.
Water features have to be my all time favorite addition to garden areas.
Check out our other Flower Garden Areas:
Back Yard
Bird Village
Front Yard & Pond
Shade Garden