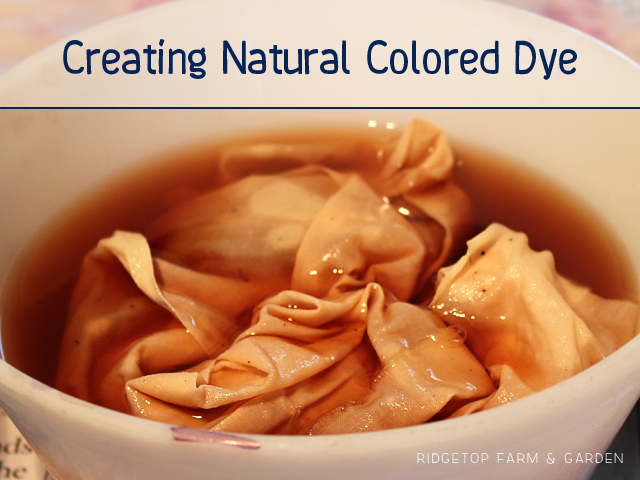
Back in early August we collected plants, flowers, berries & leaves to try making natural dyes. It took us a couple days to complete the process, but we ended up with a variety of dyed goodies.
MAKING THE DYE
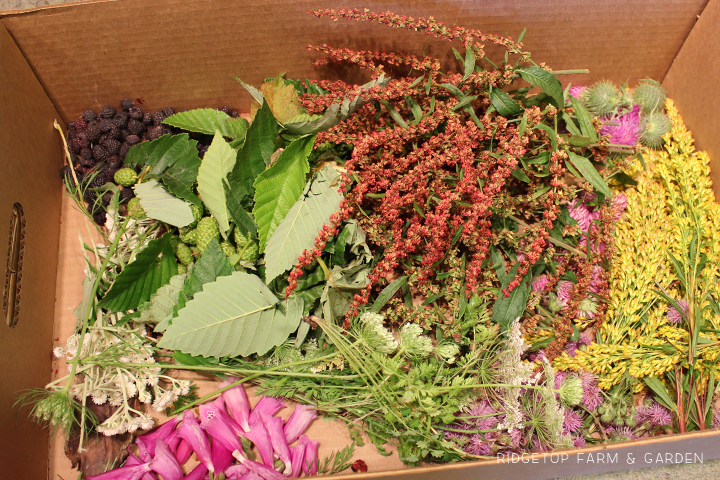
The first step was to collect the items we were going to use to make the dyes. I was so proud of this box. It’s full of nearly every color of the rainbow plus white & brown.
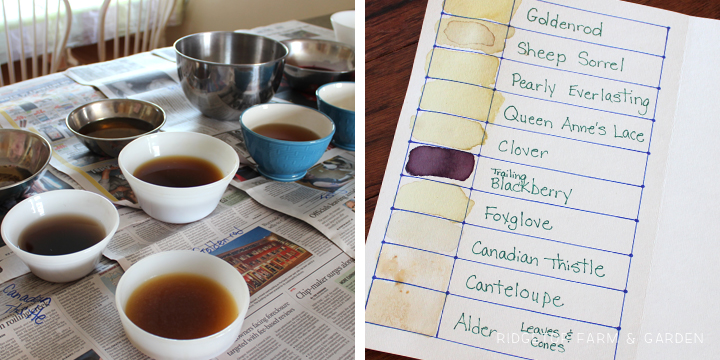
I was quickly disappointed, though. The blackberries turned into a nice purple color. Everything else turned into a tannish color. It didn’t matter if the original plant was green, yellow or purple. The dye ended up being a light tan. In the end, I’m happy with how everything turned out. But, at first I was a bit bummed. I thought since I collected a variety of plants, we’d have a nice variety of colored dyes.
The process is fairly simple:
• Collect plants
• Cut plants into small chunks
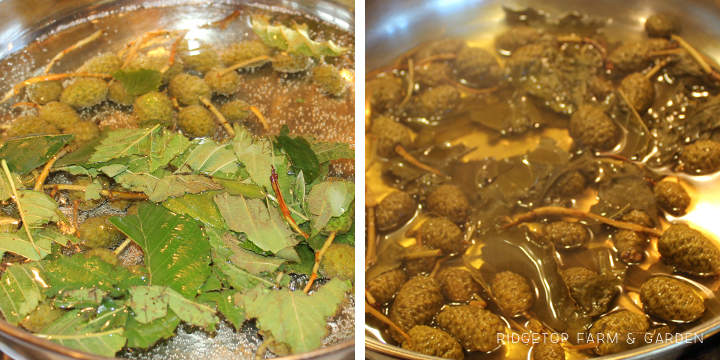
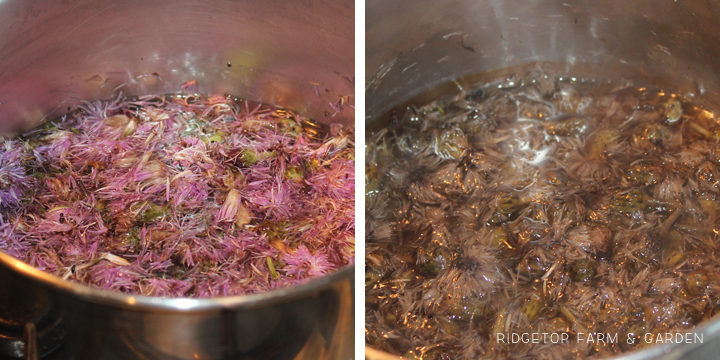
• Add plant chunks to pot. Add water. Ratio = 1 cup plant chunks to 2 cups water
• Simmer about 2 hours
• Strain mixture, if needed
This took me many, many hours because I was trying out so many different plants hoping to find one that produced a fabulous dye color.
My favorite dye: Blackberries

Alder leaves & cones
Thistles & foxglove flowers that were about the same shade of purple. They cooked down to a color of ugliness.
We ended up with 11 different dyes.
I made a chart to show the various dyes. It is lacking color variety.
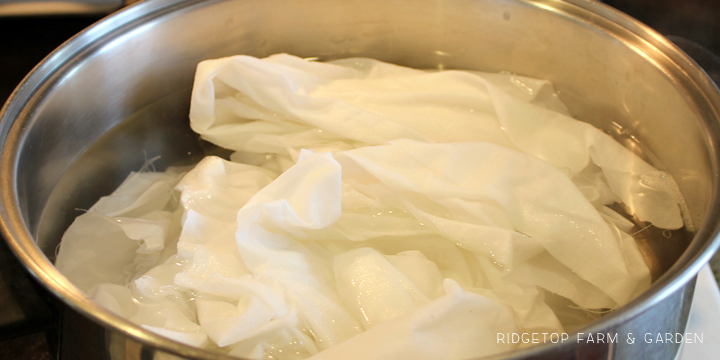
PREPARING THE MATERIAL
I’m not sure that it was truly necessary to prepare the material since we didn’t have any awesome plans for our fabric. But I read you should prepare it so the dye holds better, so we did. I did two fixative baths – one for the blackberries & another for the other plants. Here are the recipes I used:
Salt Fixative (for berries)
• 1/2 cup salt in 8 cups water.
• Boil fabric for 1 hour.
Vinegar Fixative (for other plants)
• 1 part vinegar to 4 parts water.
• Boil fabric for 1 hour.
DYING FABRIC, PAPER & YARN
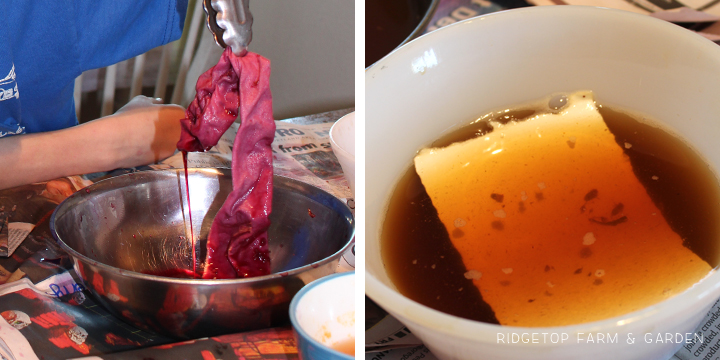
The berry dye was awesome.
For many of the items we let them sit in the dye for awhile, hoping to collect as much color as possible.
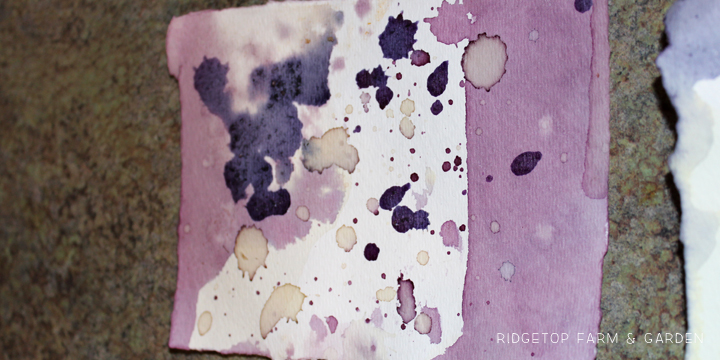
The dying process was weird & almost boring for the kids. The berry dye was fun because you could actually see the color on the paper. The other dyes, although the color looked rich in the bowl, was almost invisible on the paper. You almost couldn’t even tell you dyed it. The paper just looked wet. So again, I was a little let down. Once the paper dried, though, there was a noticeable change in color, which was a fun surprise.
I got bored with the lack of color, so, I started flicking the paper for fun. You couldn’t even see the tannish drops when they were wet.
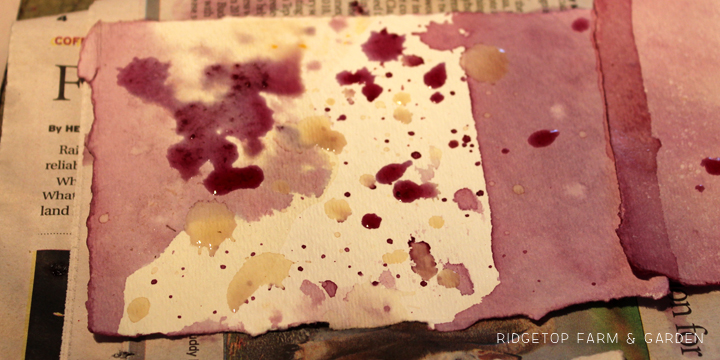
Again, I was so bored with the color, but loved the berry color. So, I grabbed a bag of blueberries from the freezer and added them to the blackberry dye hoping to get some contrast in our fabric & paper. Once again, when the dye was wet the blueberry dye didn’t look much different than the blackberry dye. But once dry, you can really see a difference. I guess patience is the key to this project.
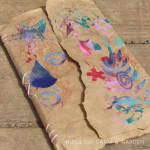
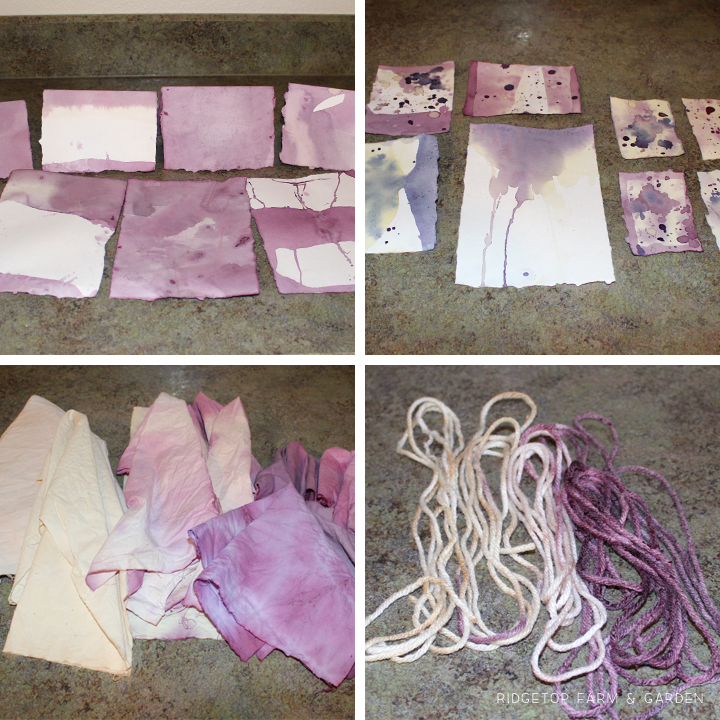
Our dyed goodies:
Top Left: Paper pieces – possibly stationary for a thank you note or gift tags. We were just trying a variety of techniques to see what the results would be.
Top Right: Note cards dyed by the kids.
Bottom Left: Dyed fabric
Bottom Right: The kids also dyed white yarn. The results aren’t wowing, but they’ve been having fun adding the yarn to other projects.
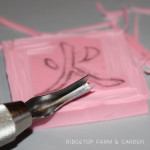
MAKING NOTE CARDS
Just because the result was unexpected, I’m sharing this pic. Farm Girl simply swirled glue on her card and left it. The reaction left this pretty blue color.

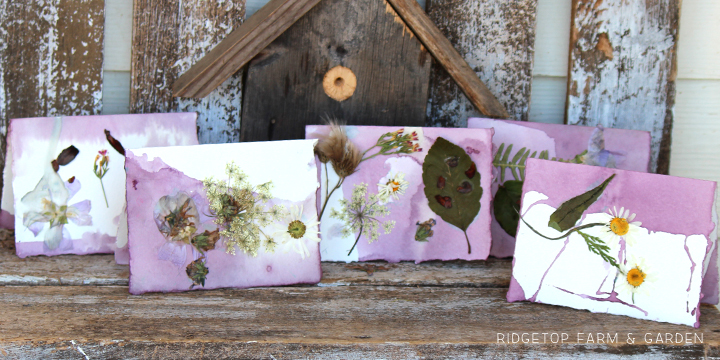
Their finished note cards.
This project didn’t turn out as expected, but I’m still thrilled with the results & we’ve used their dyed pieces a number of times on other projects. If you try it, I’d love to see what you and your family have come up with. The possibilities are endless.