With letterboxing in our future, I wanted the kids to create their own stamps.
This post contains affiliate links.
There are only 2 things needed to carve a stamp: a carving tool & the material to carve. Forever ago I had to buy the carving tool for a college art class. I’ve never used it since, but for some crazy reason I still have the tool. I ordered the carving block from Amazon.
TRANSFERRING THE DESIGN
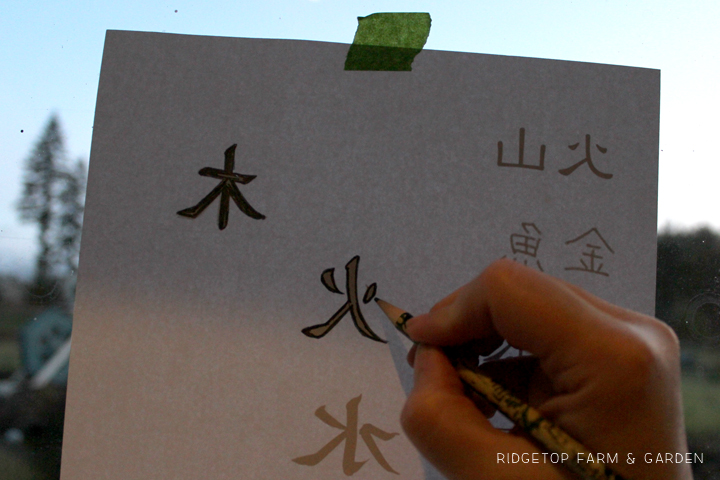
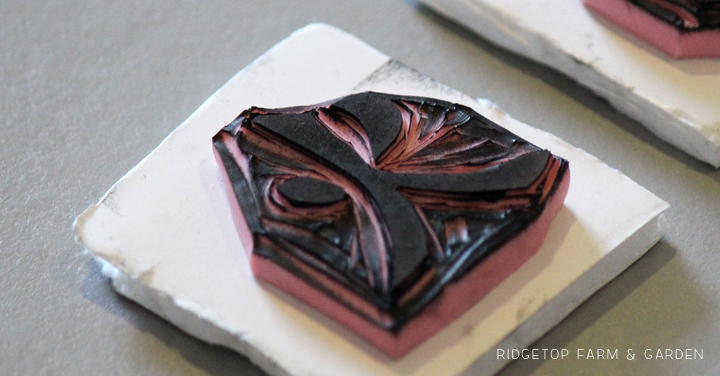
We were studying Japan at the time, so I chose to carve Japanese symbols for my sample stamps.
I printed symbols from the internet. Then, with the printed side facing a window, I traced the backside of the print with thick pencil lines.
I cut a piece of the carving block slightly larger than the symbol. Then placed the cut block up to a window. On top of the block I placed the paper, printed side facing me. Then, I traced the symbol with a pencil. The pencil lead on the other side of the paper transferred to the carving block where I traced.
The finished stamp needs to be a reverse of what you want the actual inked print to be. Keep this in mind when determining which side of the paper gets transferred onto the carving block.
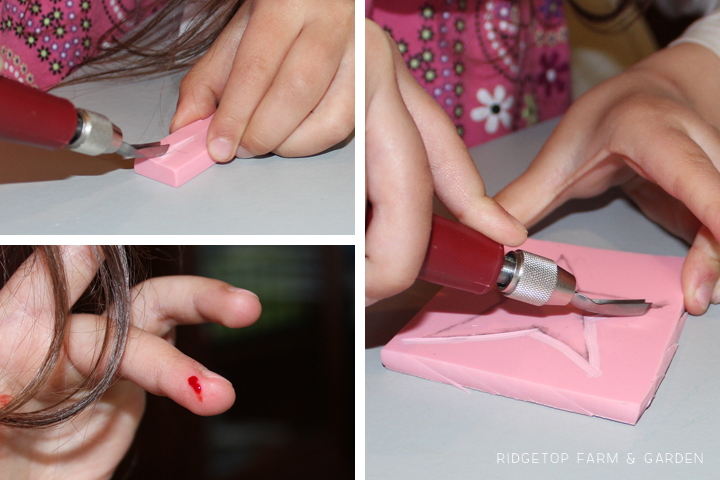
The kids skipped this step & drew their designs right on the the carving block.
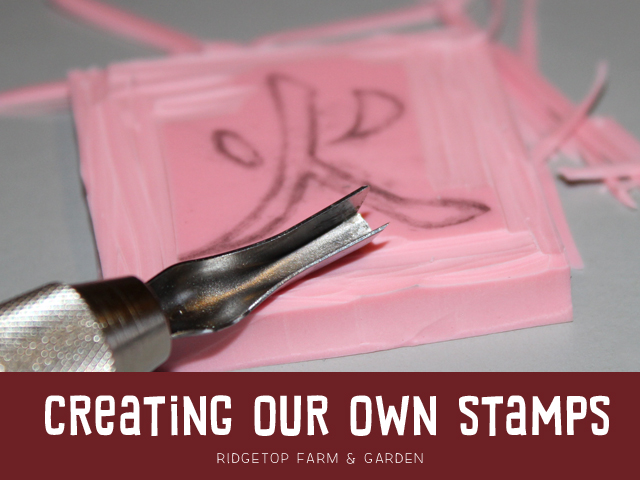
CARVING THE STAMP
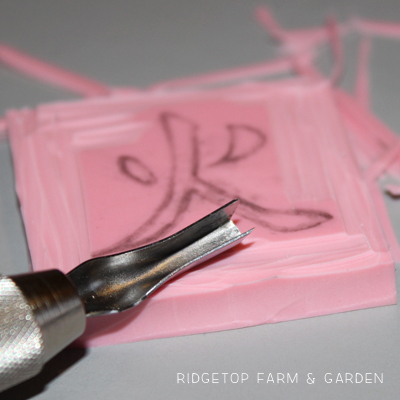
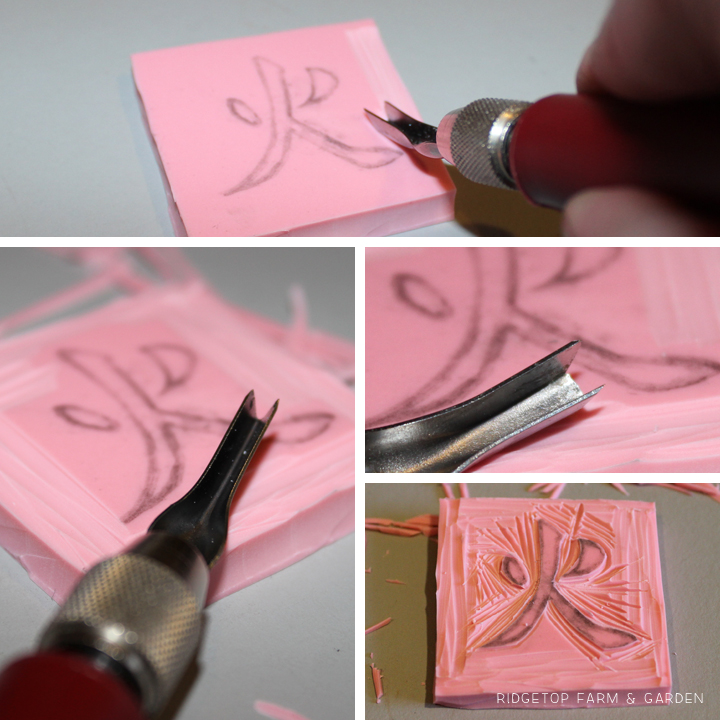
Grab your carving tool & start getting rid of the areas you don’t want in your printed design. For me, this was everything outside of the pencil line.
My carving tool has a couple different sized tips. On my first stamp I used the broader tip first. I later realized it was easier to use this tip last.
Bottom Left: The smaller tip. I used this to carve the details. It seemed easier to carve the details first, then get rid of all the extra stuff with the broad tip.
Middle Right: The larger tip.
Bottom Right: My first stamp almost complete.
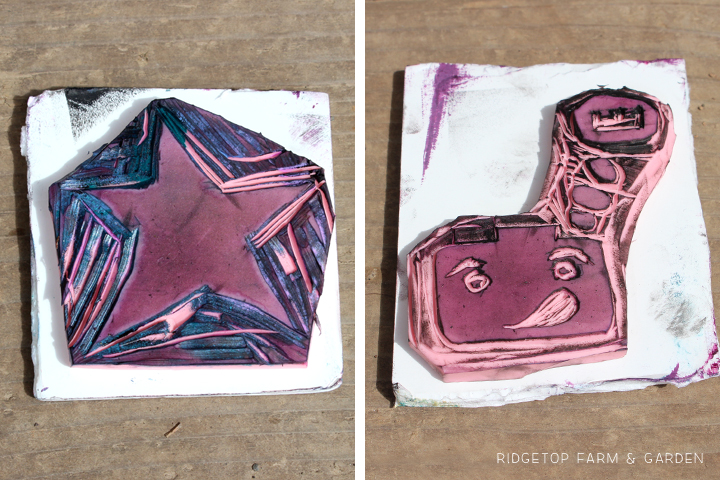
I prefer a polished look, so I was hoping to leave my stamp in its square shape. I quickly realized that just wasn’t going to work. All the extra stuff kept wanting to print even though I carved it away. So, I cut off the excess part of the block.
The stamp also printed much better once I mounted it to a small piece of foam core.
KIDS CAN DO IT, TOO
Top Left: I gave the kids a small piece to practice on first.
Right: Then they drew their design on the carving block & got to carving.
Bottom Left: We all jabbed ourselves with the carving tips. They are sharp. It’s a no brainer to realize you shouldn’t carve toward your fingers. But, somehow we all did it.
Left: Farm Girl’s finished star stamp. She chose to leave many of the lines outside the star.
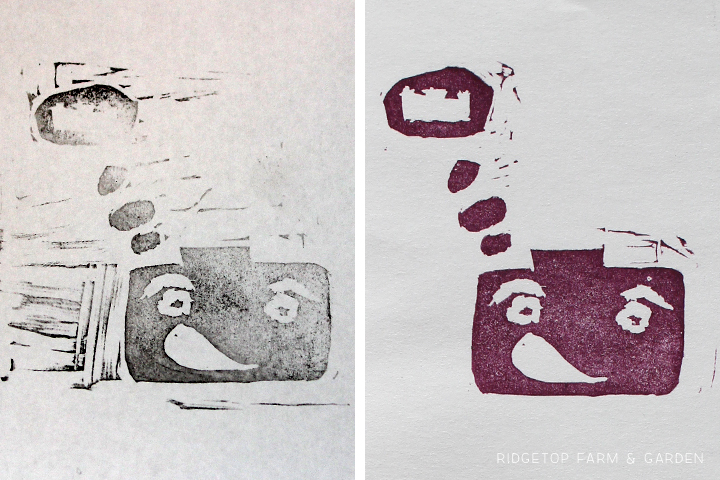
Right: Farm Kid1 chose to make a LEGO minifig head dreaming about lego bricks.
Left: It took a few tries to get rid of most of the extra lines on the outside of his design. He’d stamp, then carve a little, then cut off a bit, then stamp again, then carve more.
Right: Eventually, he decided he carved enough & had his finished product.
This was fun not only for the kids, but also for me. I know we all want to carve more stamps. And, we will – hopefully, sooner than later.